Water Lily Planting
In our May 2018 column, we described our care programme for the two connected ponds in our Japanese Stroll Garden. As explained there, the aim is to cover about 50% of the water surface with aquatic plants to reduce the exposure to sunlight and thus decrease the growth rate of algae.

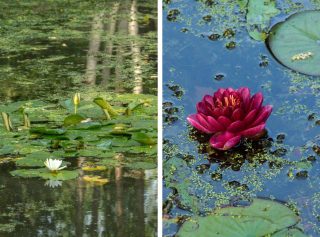
The foliage of water lilies (nymphaea) is particularly effective in covering the pond surface and also absorbs a lot of nitrate from the water, thereby ‘starving’ the unwanted algae. These practical aspects aside, water lilies are iconic plants and very deservedly admired for their striking blooms which appear in quick succession from June onwards well into September.
There is a huge choice of varieties in terms of colour and size. We have chosen medium size ones which have leaves and flowers of about 10 cm diameter. Our favourites are Nymphaea ‘White Star’ and ‘Almost Black’. The latter is aptly named as it is one of the darkest water lilies.

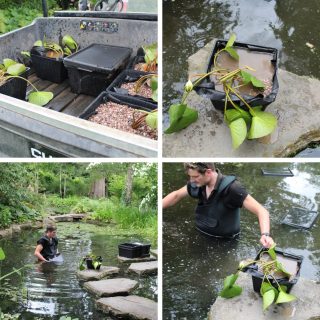
Water lilies are sold as bare root in plastic bags with water. Having been taken out of the bags, they are immediately ‘potted up’ in aquatic compost in specialised water-permeable plastic baskets. These are lined with a very fine mesh, so the compost does not get washed away. The surface of the pot is covered with a layer of gravel for the same reason and the pots are then kept in water a suitable container. Prior to planting, they are soaked in a 1:100 dilution of liquid seaweed for a couple of hours to give them a boost of energy.
Placing the pots in the pond is a very damp affair and should be done on a warm day in waders!
To reach the correct planting depth, plastic boxes are stacked on top of each other, each weighed down with a piece of rock. Natural stone is the best choice as it does not ‘leak’ unwanted substances into the water. The lilies in their baskets are then placed on top of the box tower.

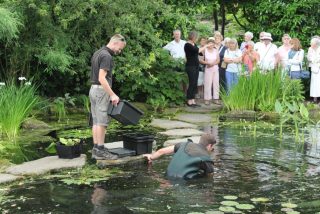
One of last year’s garden groups was clearly impressed by the procedure!

